Requirements
- WordPress : Version 5.9 or higher
- PHP : Version 7.0 or higher
Installation
To install the plugin, please refer to the “Installing a plugin” documentation.
Usage
Content
In the popup content, you can use all the blocks available in the Gutenberg editor. This means you can insert text, images, videos, galleries, buttons and much more to enrich your popup. The Gutenberg editor also lets you organise your content using columns, groups, dividers and other layout elements to create visually attractive and engaging popups. This flexibility gives you the freedom to design popups tailored to your specific needs, whether you’re promoting a special offer, collecting newsletter subscriptions, or displaying important announcements.
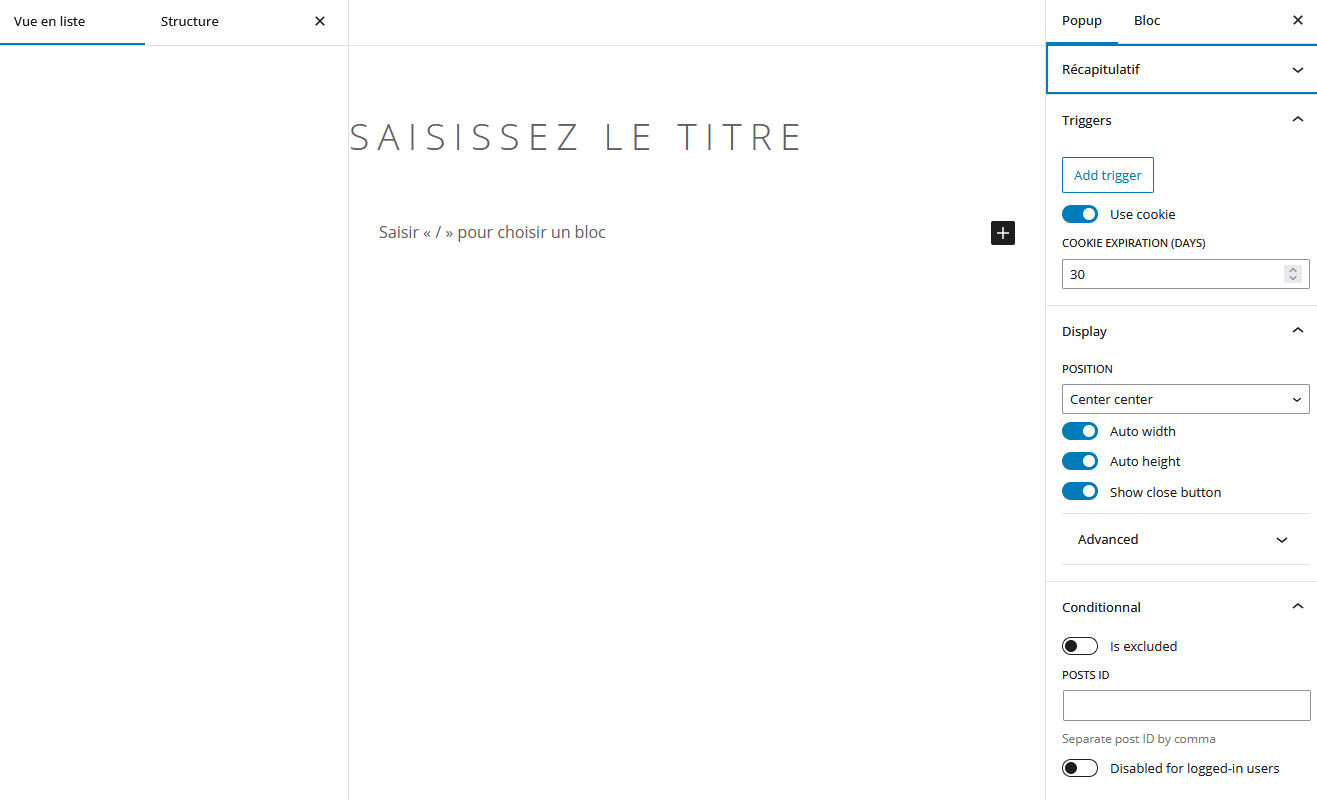
Triggers
Select the trigger for your popup to define how and when it should appear. You have several options for customising this behaviour:
- Automatic opening: The popup opens automatically when the page is loaded. You can set a delay in milliseconds to determine how long after the page has loaded the popup should appear. This is useful for attracting visitors’ attention immediately or after they’ve had time to read some of the content.
- On click: The popup opens when a user clicks on a specific element of the page, such as a button or link. This method is ideal for intentional user actions, such as subscribing to a newsletter after clicking on a ‘Subscribe’ button.
- JavaScript event: The popup opens in response to a custom JavaScript event. This offers maximum flexibility by allowing the popup to be triggered by specific user actions or other events on the page, such as scrolling to a certain section or interacting with a form.
Display
Define the position and size of your popup so that it displays optimally on your site. These settings allow you to customise the appearance and location of the popup to suit your needs:
- Position: Choose from the different positioning options available, such as the centre, bottom right-hand corner, top left-hand corner, etc. You can position your popup in the most strategic place to grab visitors’ attention without hindering their browsing. For example, a popup in the centre can be highly visible, while a popup in a corner can be less intrusive.
- Size: Specify the width and height of the popup in pixels or as a percentage of the screen size. This gives you precise control over the space occupied by the popup. A well-defined size ensures that the content is readable and attractive, without taking up too much screen space. You can create a small, discreet popup for notifications or a large popup for important promotions.
By adjusting these parameters, you can create popups that fit in perfectly with the design of your site and meet the objectives of your communication campaign.
Display conditions
Customise the display conditions for your popup to ensure that it is displayed to the right people, at the right time, and on the right pages. These settings allow you to define precise rules for displaying your popup:
- Specific pages: Add conditions to exclude certain pages where the popup should not be displayed. For example, you can choose not to display the popup on the home page, on contact pages, or on any other page where you feel the popup could be annoying or inappropriate. This allows you to target your popups more effectively and improve the user experience by avoiding unwanted interruptions.
- Logged-in users: Define whether the popup should only be displayed to logged-in or logged-out users. You can, for example, display specific promotions or ads to offline users to encourage them to register or log in, while avoiding displaying these popups to users who are already logged in but don’t need them. This creates more personalised and relevant user experiences.
By configuring these display conditions, you can control exactly who sees your popup and where it appears, ensuring that your messages reach the right audiences strategically and effectively.
Examples of JavaScript triggers
Open the popup automatically after 500 milliseconds:
Open the popup when you click on an item:
Recurring problems
If your popup’s trigger button is loaded via AJAX, the events initially attached to this button will not be automatically applied.
To solve this problem, you need to force the events to be reset by executing the following code in your script:
This code triggers a custom event that your plugin can listen to to reset popup events. Be sure to run this code after dynamically adding your buttons to the DOM.